Stessl 600 Seahawk - Unintended Rebuild Project
Having sold my Stacer 455 back in February after a spell without work and a looming overseas job offer, I managed to land a job in Perth and when on the hunt for a boat only days after signing a contract. I was originally looking for a Reef Runner but there resale price just put them to far out of reach so I continued to scour gumtree & boat sales for a bargain.
Part 1
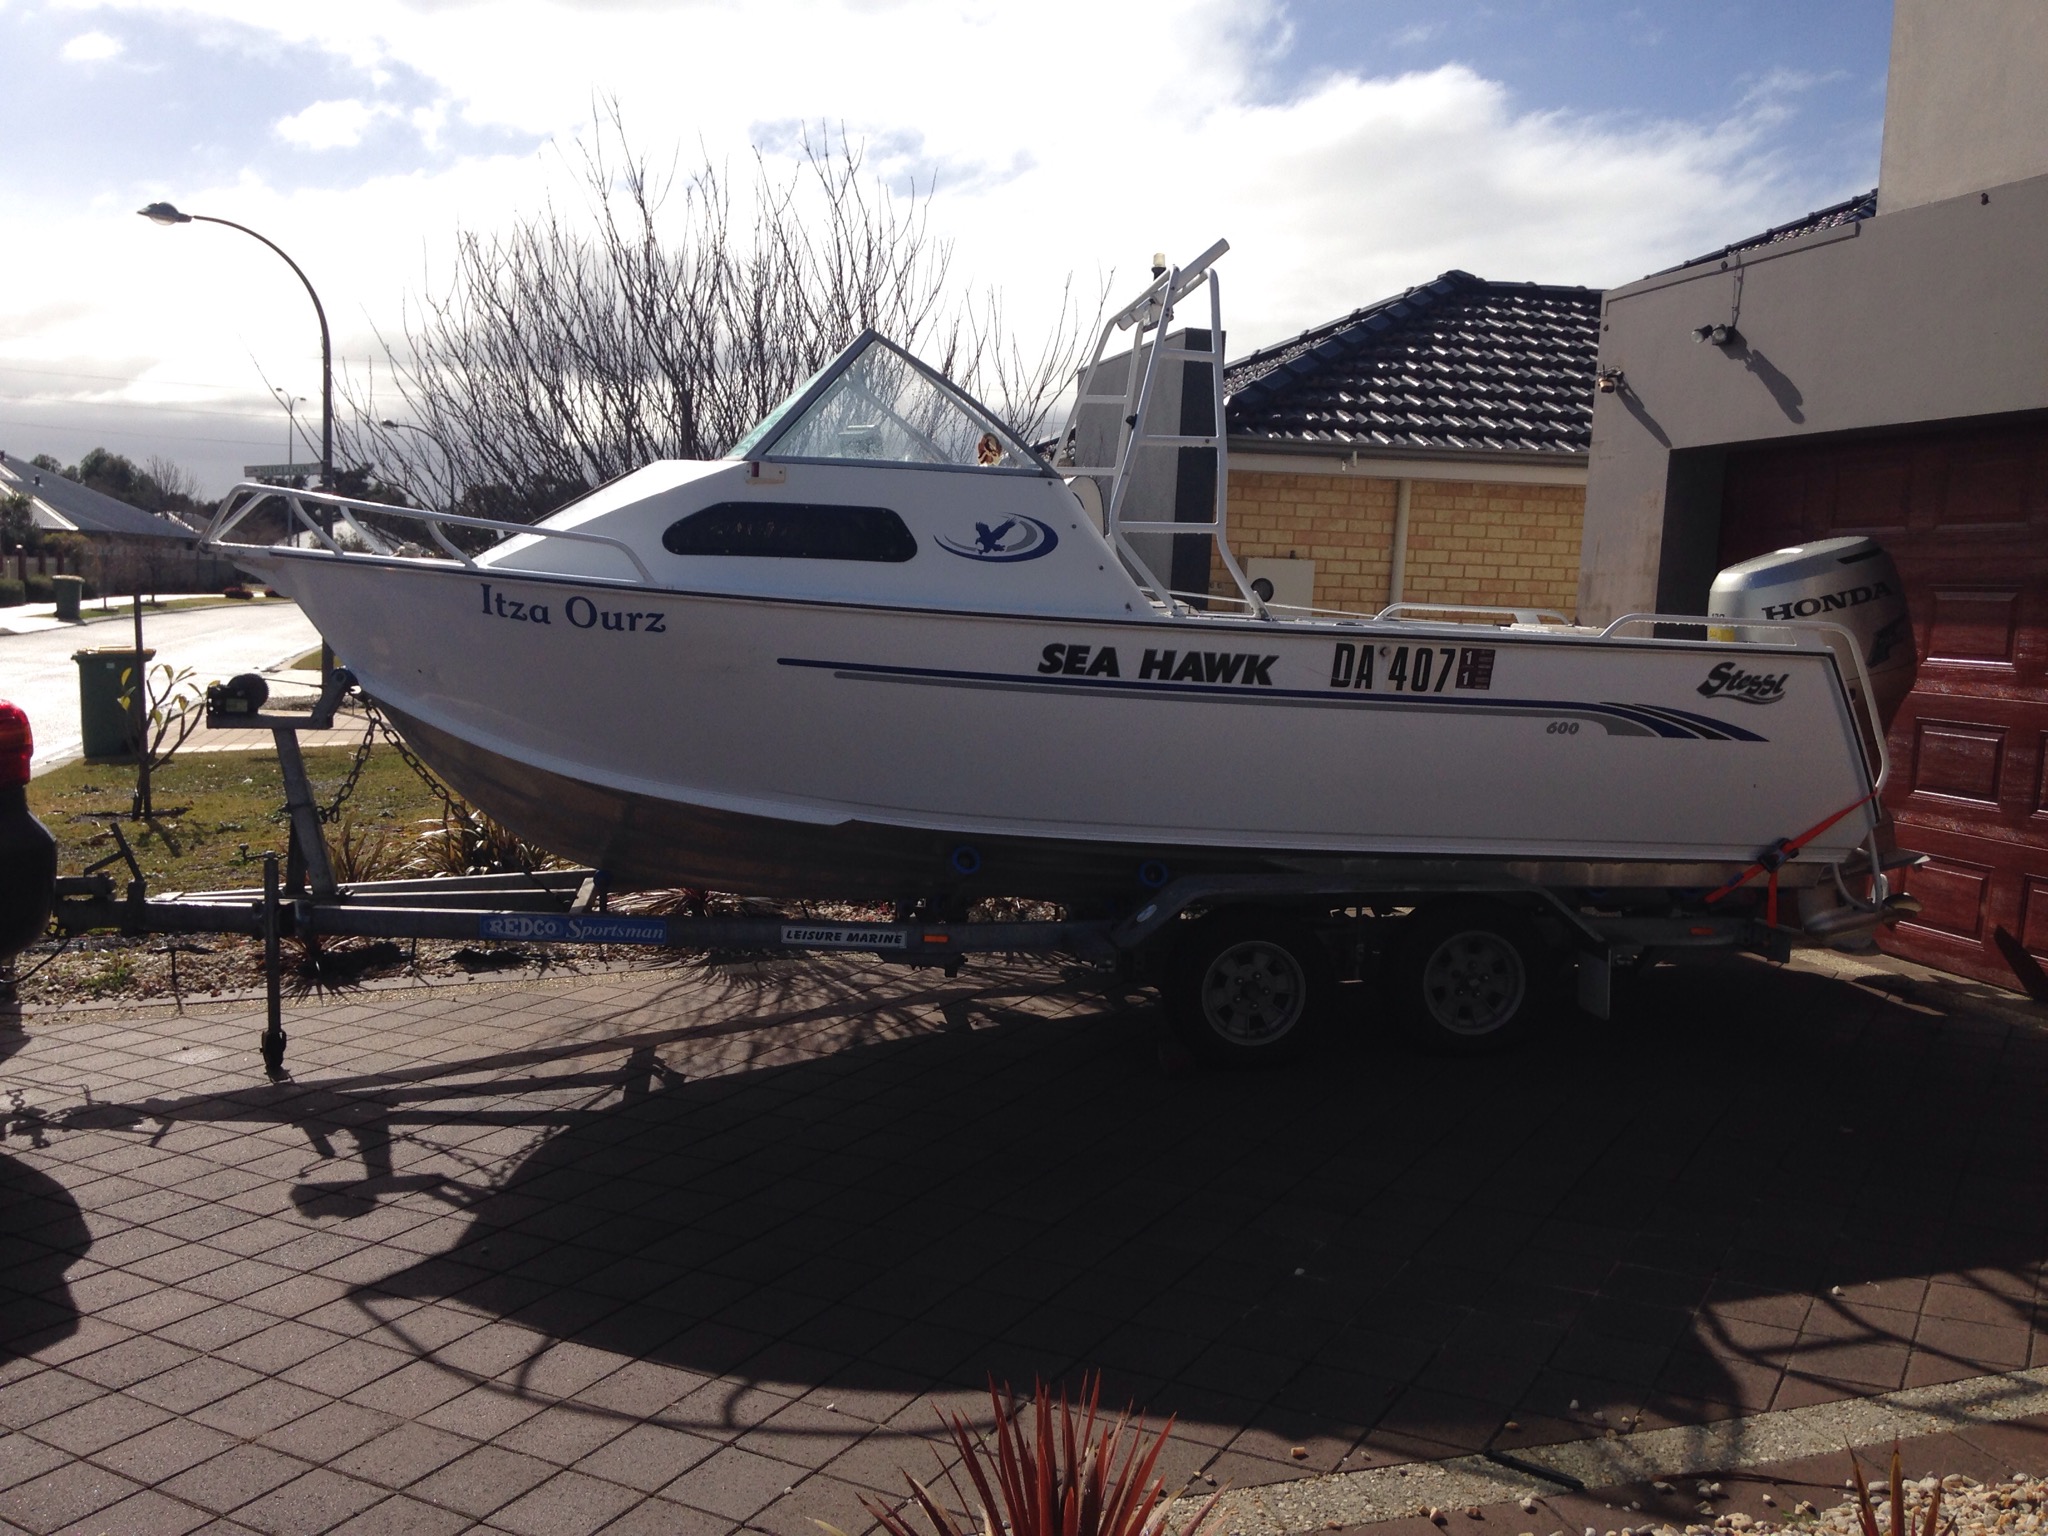
I eventually came across a 2002 6m Stessl with a single terrible photo advertised for sale in Mandurah with a Honda 130. When we got there it was clearly a slight project, showing signs of age but the motor with only 230hrs look new under the hood, started and ran fine and with a bit of fixing up and some canvas work it should have good bones. The trailer seemed to match the owners story that it had been owned by a family in Kal who stored the boat outside hence its condition, but didn't get to use it much hence the very low hours. We haggled on price, came to an agreement that I was happy with and agreed to buy it.
I'd actually bought a bank cheque down with me for what I wanted to pay for it and top-up cash in case I didn't manage to haggle. Towed it back to Perth happy as a pig in sh*t!
I decided that given the age of the motor and despite the low ours, it would be best to have the motor fully serviced by a dealer who can go over everything, give me a good starting base after a major service and I know everything is good. When I got home I had noticed that some oil had spilled out of what I thought to be an overflow on the form of the engine block on the front side of the base of the motor but didn’t think too much about it. Booked it into Seapower marine in Fremantle for a major service at a quoted cost of $850 and mentioned the oil that seemed to leak from an overflow elbow that I thought might need to be attached to a hose.
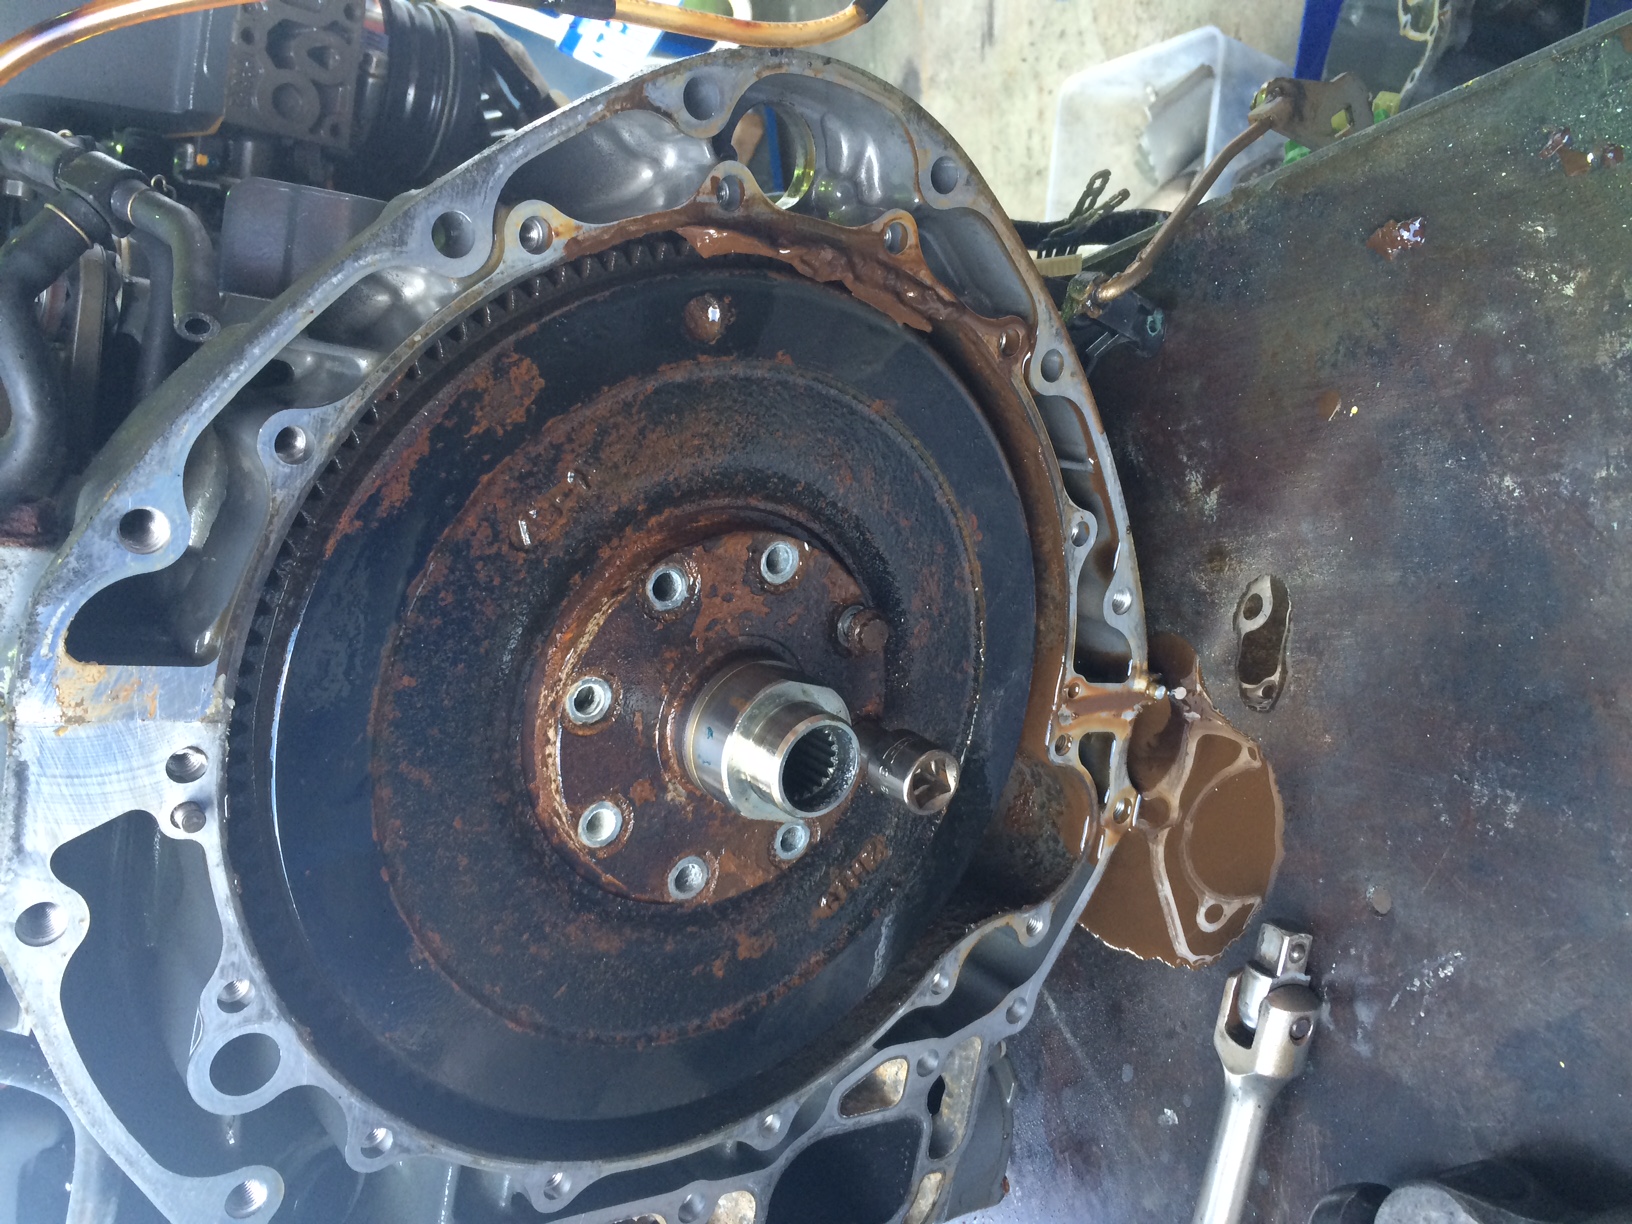
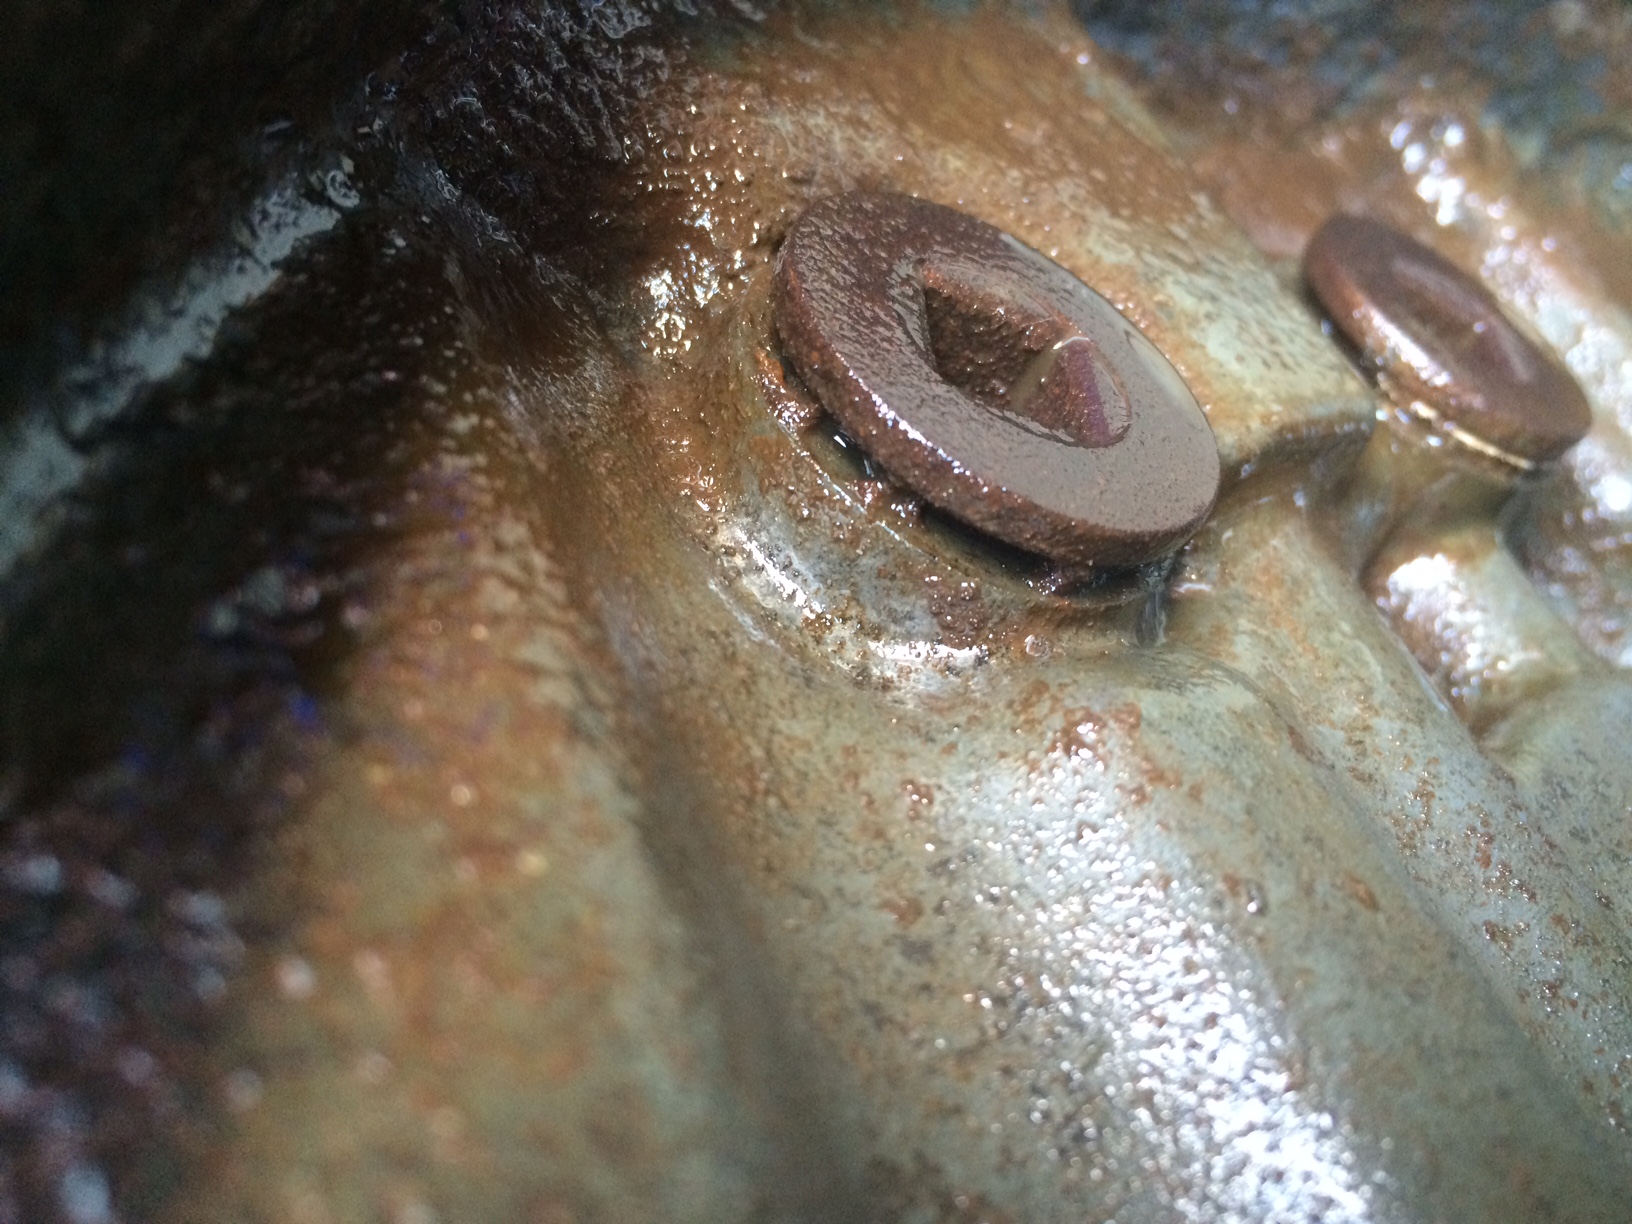
That afternoon, I received a call from Seapower stating that they think the oil might be a little more suspect than initially thought. That drain as I thought of it turns out to be a breather to the flywheel housing of the motor that is completely sealed top and bottom. The only way oil would be getting in there is if the main seal is leaking on the bottom of the powerhead. They pulled the starter motor off and sure enough this space was full of milky brown sludge! The bottom of my stomach fell through the ground! I’ve bought a dud…
Seapower didn’t seem to put-off by the potential problem, and advised that given the rest of the motor was in such good condition, it would be worth it. Unfortunately to get to it need a full stripdown of the engine to get the powerhead off estimated $2000 in labour plus whatever parts they find/need. I could just seal it up forget about it until a starter motor goes or major oil failure, seal it up and sell it on, or fix it up and build myself a decent boat! After a restless night, some searching on the price of a new donk, I gave the go-ahead the next day. The results weren’t pretty!
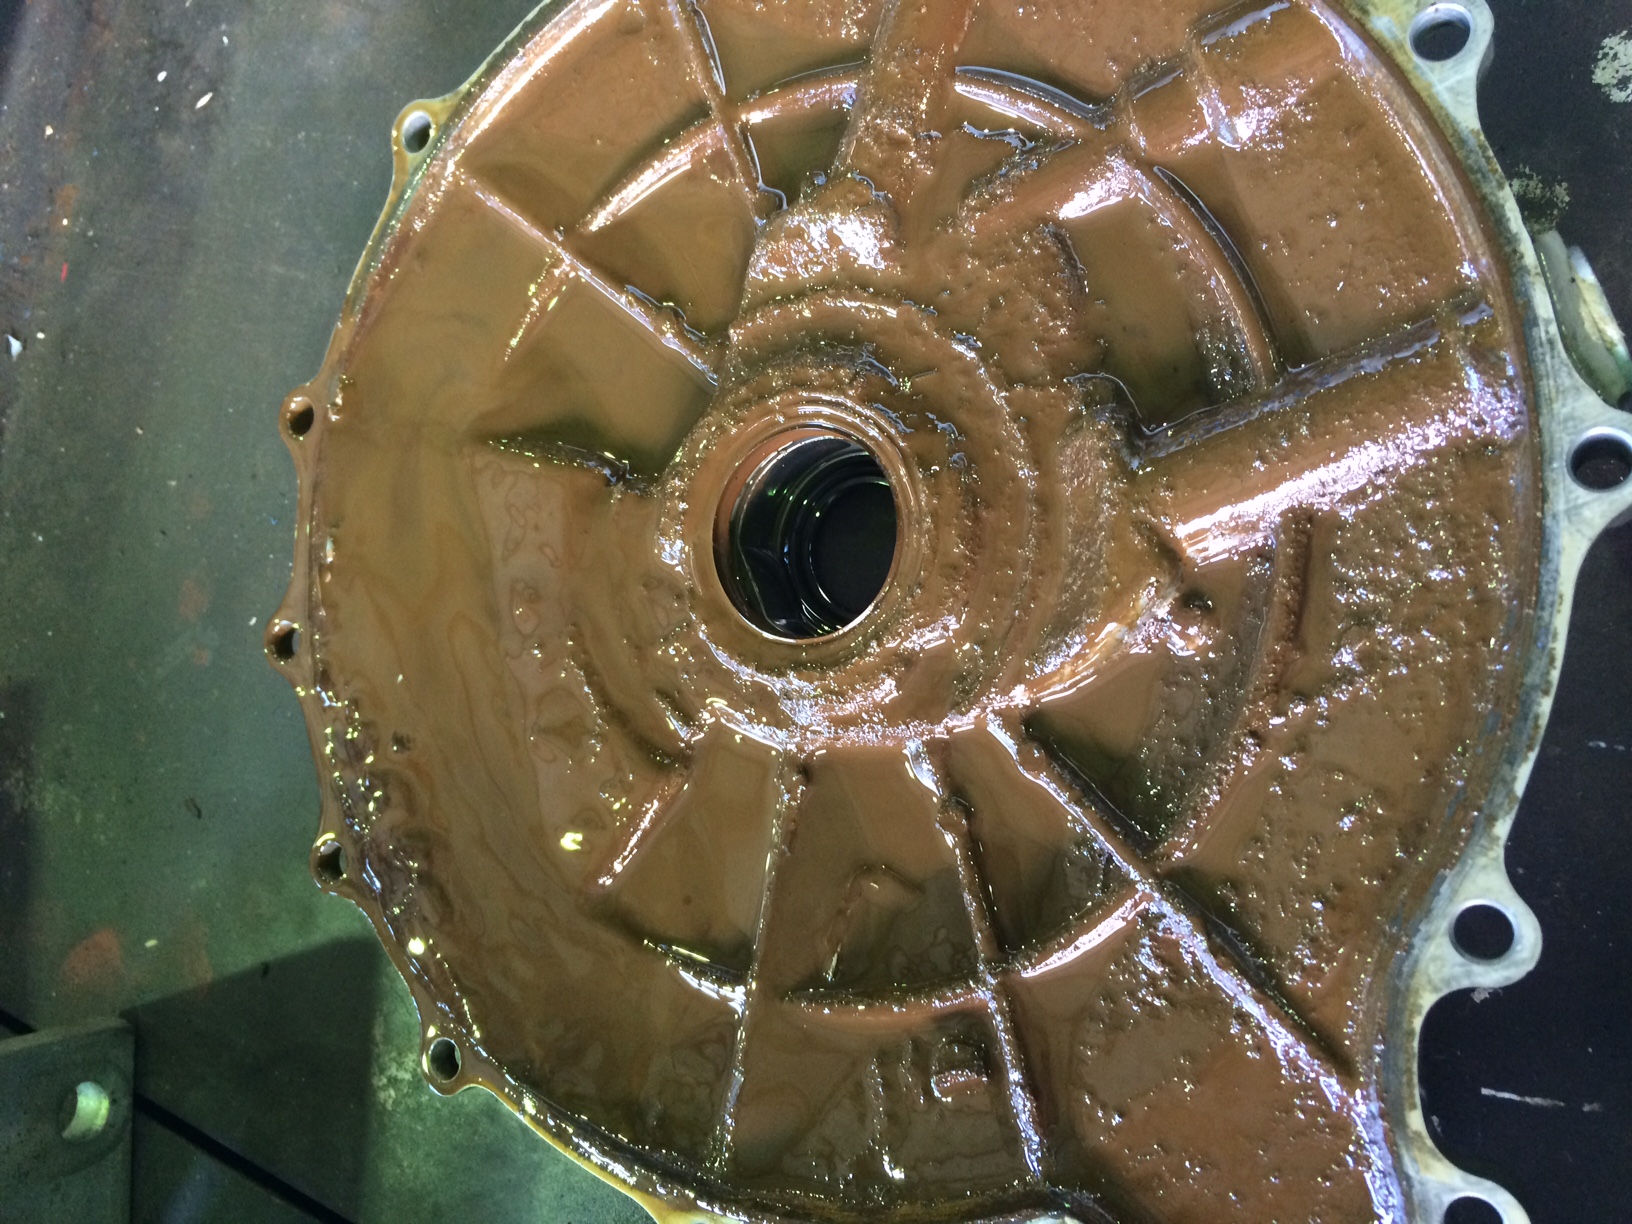
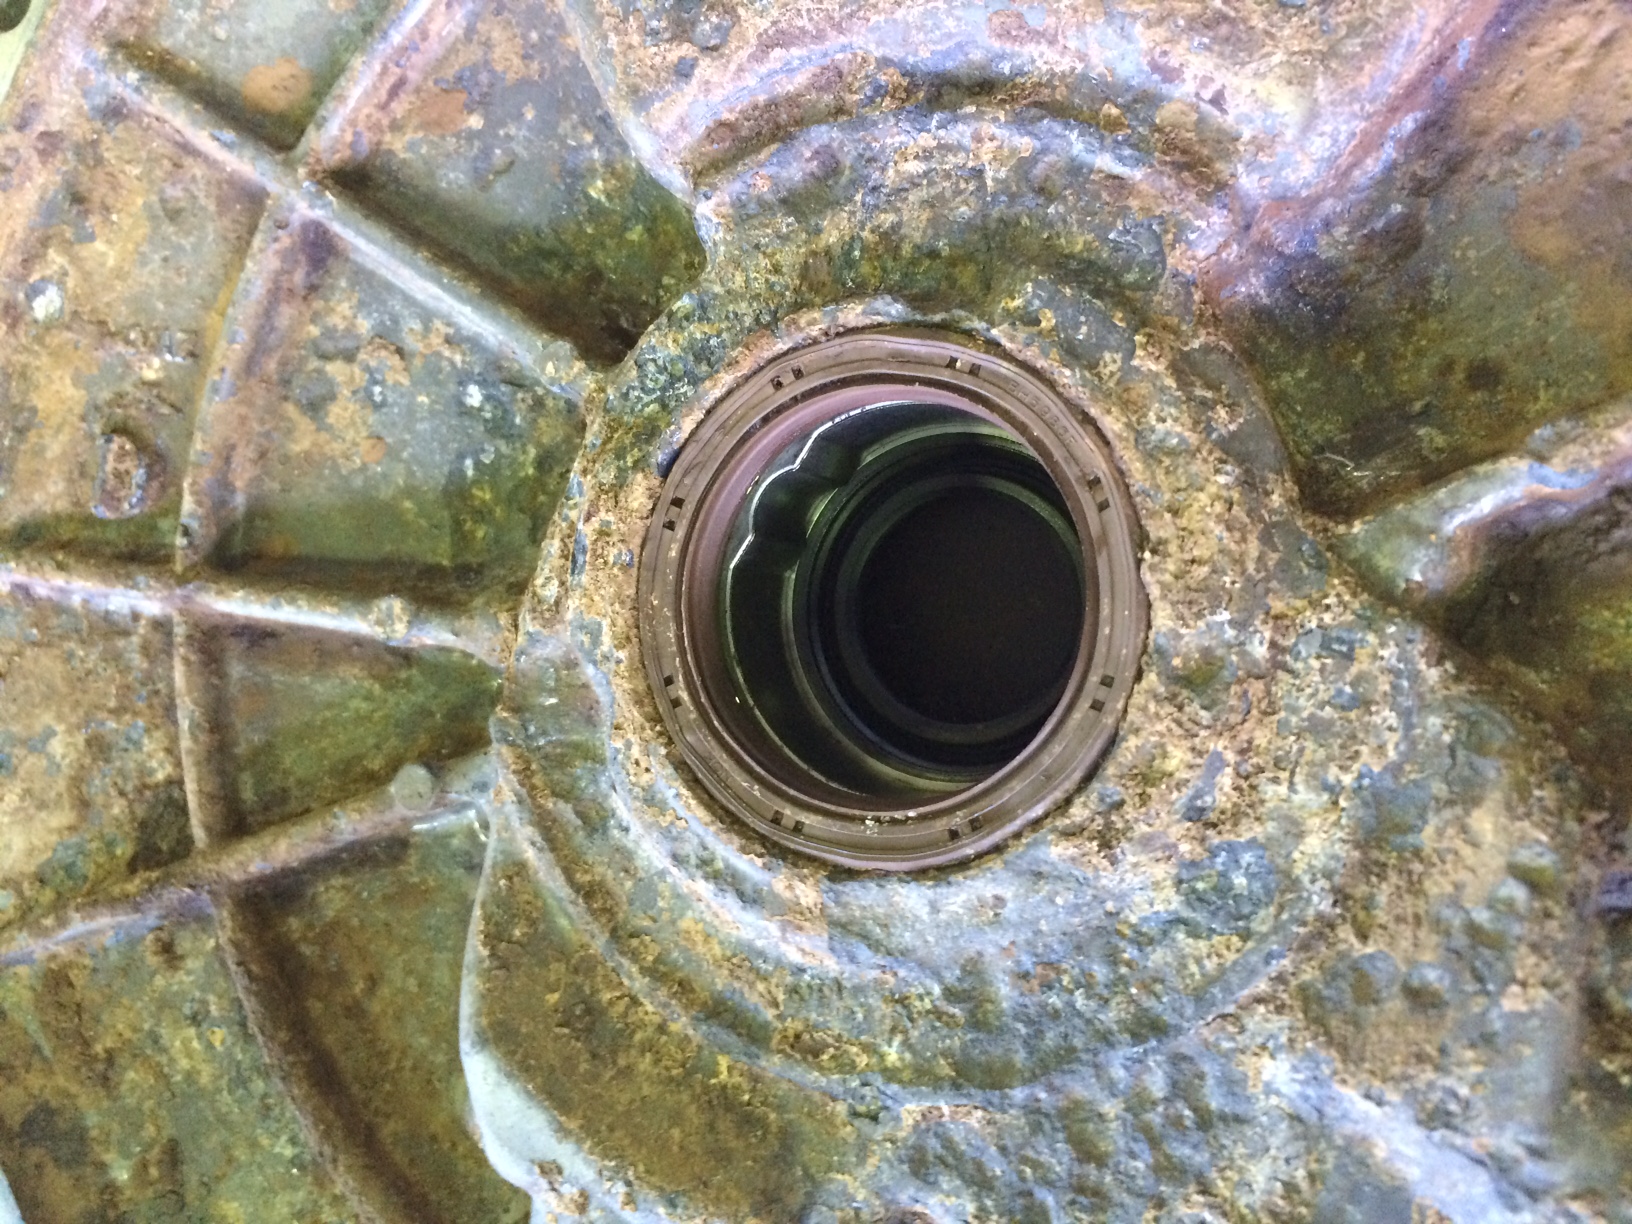
Saltwater has got inside this sealed area and worked its magic on the oil plug brass washers on the bottom of the powerhead, the main seal and the oil pump housing. Corrosion was particularly bad on the Oil pump &flywheel boss which also runs on another lower seal.
Seapower now send me over a parts quote of $1100. That same sinking feeling comes again within my stomach. I do some googling, ebay USA hunting but by the time I pay freight it’s coming to the same price… So I give the go ahead once again and the parts are ordered, with some items ex-Japan in 2-3 weeks.
After some googling, it appear this is actually quite a common problem on early 2000 ish Honda with several different causes. Mine appears that it has had a new starter motor installed without an o’ring seal! If I could get my hands on the person that had done that…
It is at this point that I decide that I’m into this boat for more cash than I wanted to be, so if I’m not planning on selling it in the short term for a loss, how about I put in the effort and restore it so ‘I’ve got something worth the money I’m spending and I want to keep for the next 10years!
to be continued...


Darren253
Posts: 570
Date Joined: 23/07/16
Having been inspired by
Having been inspired by scere_182 Genesis rebuild project, I decided that I could turn this boat into something special and restore her to her former glory…
Prior to finding out about all of the engine issues, I had booked the boat in with Howie at Cushion Cover Repairs for a full set of bimini, clears & rear awning& cabin privacy screen. Howie did an awesome job and I’m stoked with the outcome. Unfortunately it only remained like this for less than 24hours before the real work started!
100% recommend Howie for a decent price, honest service & quality workmanship… I’ve sent several other happy customers his way and would happily deal with him again!
pelagicyachts
Posts: 1332
Date Joined: 23/02/11
Stessl make good solid hulls,
Stessl make good solid hulls, good looking boat and hopefully a happy ending coming - at least once rebuilt you will have a reliable unit
dodgy
Posts: 4588
Date Joined: 01/02/10
That suck. Early Honda
That sucks. Early Honda aspirin strikes again.
Does anyone know where the love of god goes, when the waves turn the minutes to hours?
Darren253
Posts: 570
Date Joined: 23/07/16
Again, following from
Again, following from scere_182 Genesis rebuild project, I reached out to Dan @ DMACC (along with others) to look at giving the tube a freshen-up. I received a range of quotes but Dan took the time to come and look at the boat, took me through all of the details as to what he would do to do it right vs a quick slap of paint and negotiated the price if I was prepared to take on the strip work to a very competitive rate, especially considering the level of job he was offering. We agreed on a price to paint from the inside the gunnels to the entire external surface including the dash. This meant that the carpet and electrical could stay as this would all be bagged up.
Over the course of a Saturday, the next day after I had picked it up from Howie at Cushion Cover Repairs, a mate and I stripped the entire boat back by 3pm. We removed absolutely everything apart from the transom bracket, drain plugs and dash panel. Lots of broken stainless screws and bolts, shed loads of metallic corrosion but taking our time we worked through it.
I delivered the boat to Dan on a Sunday afternoon as I was heading away to Melbourne for the week with work, right before he was off the football in Subi... Top man!
Darren253
Posts: 570
Date Joined: 23/07/16
As expected, Dan’s work was
As expected, Dan’s work was awesome. I was pretty lucky that the Stessl has good bones and was really straight and clean to start with. I would be happy to pick-up a brand new boat with this level of finish! The black has come up like a mirror and I’m so happy with the finish…
Picking the boat up from Dan really put the zing back into my step and gave me the motivation that I could really do this well and end up with a quality product!
I don’t really need to sing Dans praises, I think his work does a good enough job by itself… But anyone thinking of an update, you would be mad to go past DMACC!


scere_182
Posts: 335
Date Joined: 27/01/09
Wont regret rebuilding it
Wont regret rebuilding it buddy... Worth the hours you put in and real sense of self achievement once its done sitting there complete.
Looks the goods so far. Glad Howie and Dan were able to help out. Both are standout blokes. Very easy to deal with.
Only negative is it cost me a missus. Too much time working on it haha...
Come to think of it... Probably turn out to be a positive :p
More time to spend on the water. Best of luck with the rest of the rebuild.
Rob
building designer | architectural draftsman
https://www.facebook.com/robertsceresinidesigns/
Darren253
Posts: 570
Date Joined: 23/07/16
Thanks... Your thread was a
Thanks...
Your thread was a wealth of knowledge!
My wife and kids actually headed back to the UK for a family event and to see the grandparents so I actually had 4 weeks (5 weekends) to get it done without any grief or hassle! Having just started a new job I couldn't go! Shame...
Darren253
Posts: 570
Date Joined: 23/07/16
Thanks... Your thread was a
double post
Deleted
Posts: 6265
Date Joined: 26/04/14
Tough break with the motor.
Tough break with the motor. Hope it's all up from here. I'll be watching the thread with interest
pelagicyachts
Posts: 1332
Date Joined: 23/02/11
far out - you move fast! -
far out - you move fast! - great finish on an Ally boat -
Darren253
Posts: 570
Date Joined: 23/07/16
It's amazing what you can get
It's amazing what you can get done in 4.5weeks without the Strife & Kids around!
Darren253
Posts: 570
Date Joined: 23/07/16
The next step should have
The next step should have been to re-assemble the windscreen however CDC Laser had a “Friday afternoon” part fail on their laser cutting machine which delayed the pickup until 3-4 days later. CDC in Wangara has provided me with 4.5mm Lexan in a medium smoke. It wasn’t the cheapest quote that I received but Andrew seemed an expert in his field. Their machine cuts to a tolerance of 0.01mm.
I still had plenty of other jobs to do and got on with them reassembly softly, softly, not wanting a single scratch or mark! Two trips a week to Whitworth marine seemed to be a common theme throughout this build. I reused 30% of the stainless fasteners but the rest were new. Tefgel & Sikaflex… I used boat loads of Tefgel! That is horrible stuff to work with but I’ve persisted, hopefully for the greater good.
Rebuild day 1 progress!
The existing screen was 4mm perspex but the replacement was 4.5mm Lexan. Dan @ DMACC painted the disassembled windscreen frames for me so it ended up being a pretty tight fit during the reassembly. I used plenty of silicon spray and with the family away I setup the assembly line on the livingroom floor in front of the TV. I had it all back together within 3 or 4 hours one evening.
Unfortunately I hadn’t thought of the impact of silicon overspray on the wooden floors and we’ve had two deadly slippery spots in the livingroom floor for the past few weeks.
I was a little worried that I had gone too dark, but having it out in the daylight I’m happy with my choice. If I had a hardtop and couldn’t look through the front clear at night time, I would probably recommend sticking to the ‘light” smoke.
More work throughout the week between rain & storms but it’s starting to come together.
Krusty
Posts: 714
Date Joined: 27/11/15
That is really coming along
That is really coming along fast and looks amazing. The screen does look dark though.
I have made the same mistake with silicone spray on a wooden floor....had a spot about the size of a dinner plate on one side of the loungroom that was slipperier than words can explain especially with socks on
Hope the motor side of things is all good.
My fishing spots are so secret........... even the fish don't know where they are !!
kirky79
Posts: 1364
Date Joined: 13/01/12
That is looking schmick!!
That is looking schmick!! Enjoy looking at these posts