Fuel and remote oil tanks ( pic heavy )
Hi crew, With work slowing down i have had some spare time to work on the boat. Ive been doing this for nearly 3 years but in reality have only spent about 8 weeks on the project. Unfortuantly work comes first but i hope to finish it off over the next month.
There are too many things to cover all of them, but i had to strip the whole boat and flip it over to repair the hull. Some of the stringers had broken and punched holes in the bottom, so I had to cut out sections and repair the damage, then weld in plates to finish it off. (sorry no pictures )
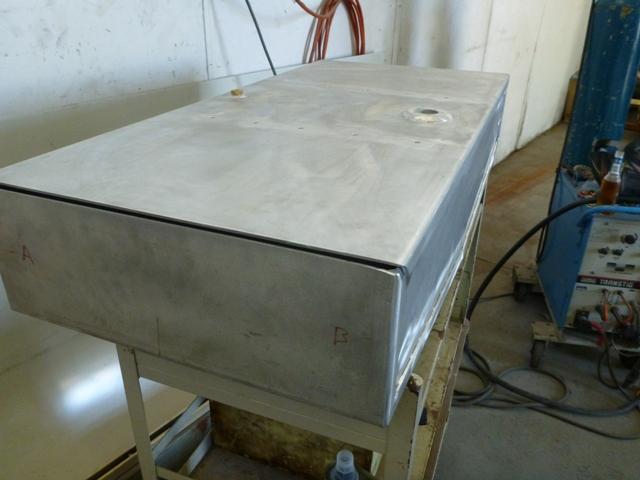
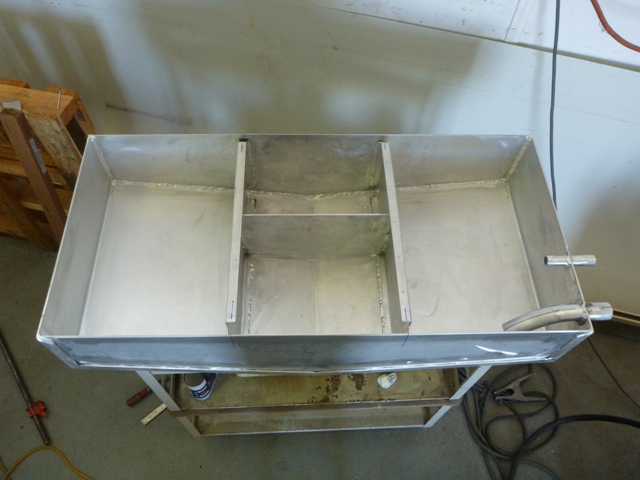
The fuel tank was in bad shape with holes and pitting so i decided to make a new one . I had to stay with the same shape to fit it under the floor but made it alot thicker using 4mm alloy .
Fuel tank in progress

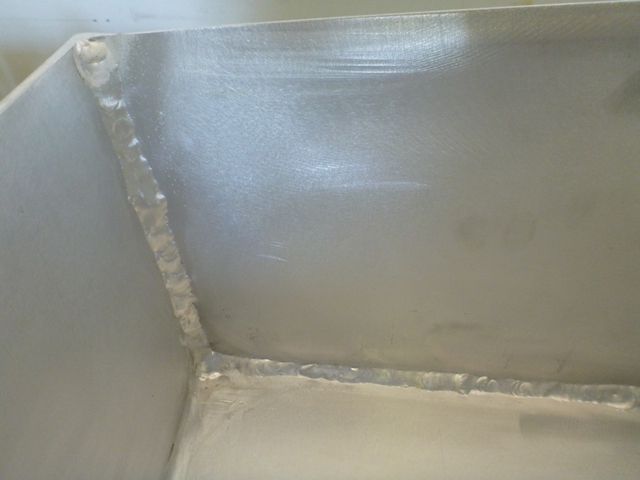
All the inside joins were welded on the bottom section

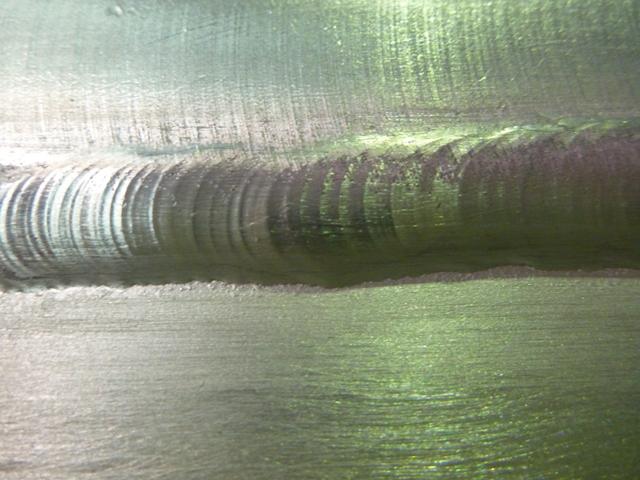
The top section was welded from the outside only , the bottom section was welded from inside and outside.
The lap joins welded

By the end i was getting some nice welds.
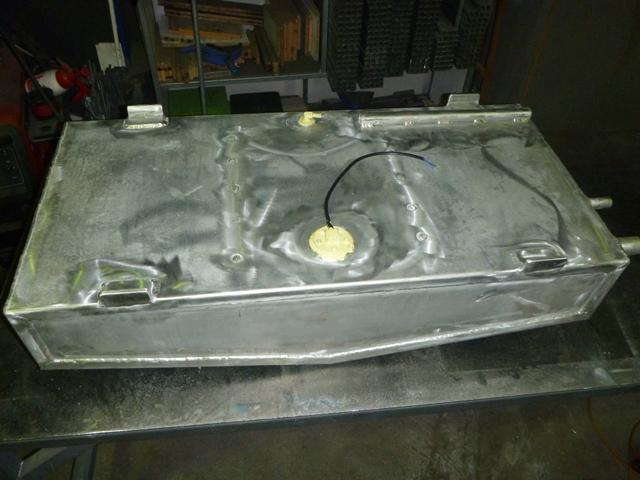
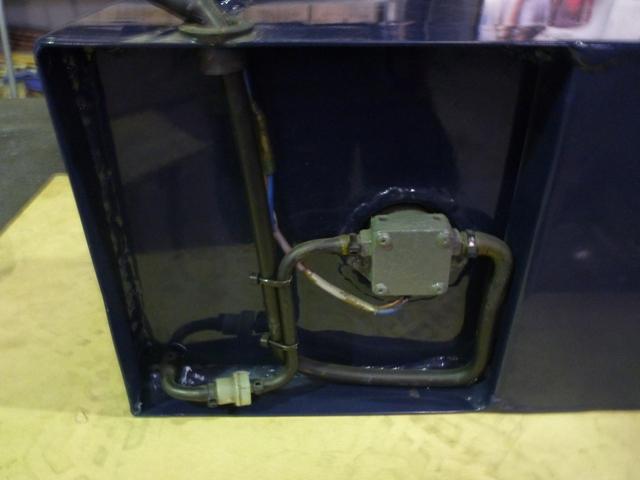
Here is the tank with all the fittings in place,Sender unit and pickup . It has been preasure tested and ready to go in the hull.
I cant aford to replace the motor yet and being a 2 stroke i realy needed to sort out the remote oil tank. It was broken and the plastic was too brittle to do a cheep fix up.

So i went to get a new one. Found one at a dealership and got the price. At $980 complete, or $280 just for the plastic container , i prompty told them to go f@ck themselves and returned to my factory to make my own. Now i know boating parts cost alot, but that was just taking the piss. IMO
I removed the pump and fitting to see how bad they were. Just surface rust on the pump so applied a rust convert and paint. Then came up with a design so the tank would fit into the side pocket on the boat out of every ones way.
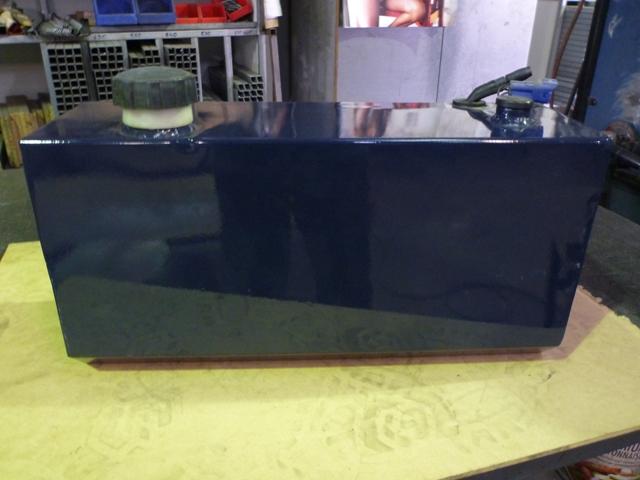
I fitted sender unit , the filler cap, and the pump went into the back of the tank exactly like the original. 4 hours later i was glad i still had a grand in my bank.
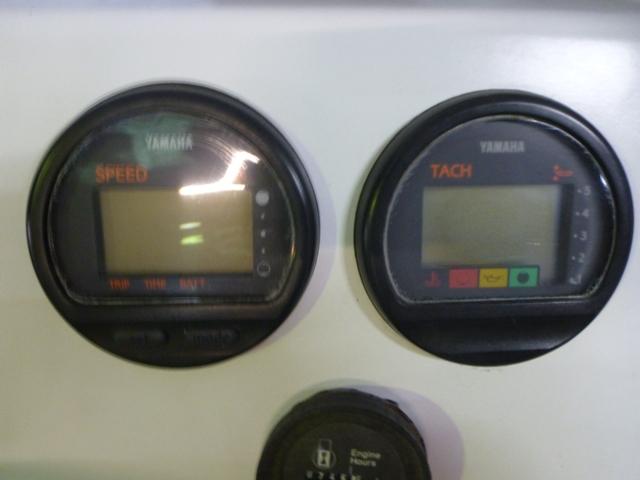
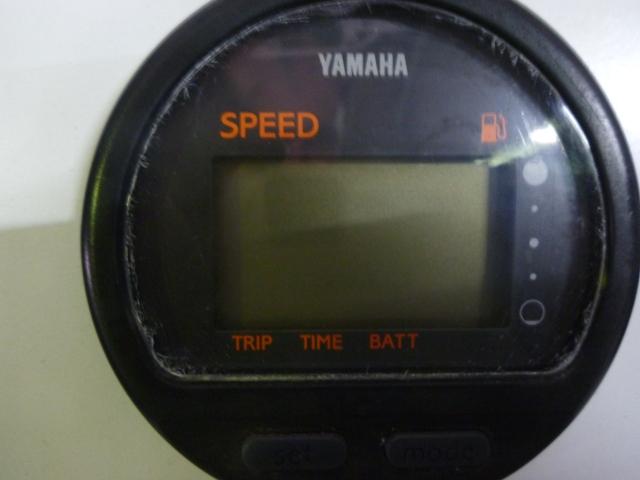
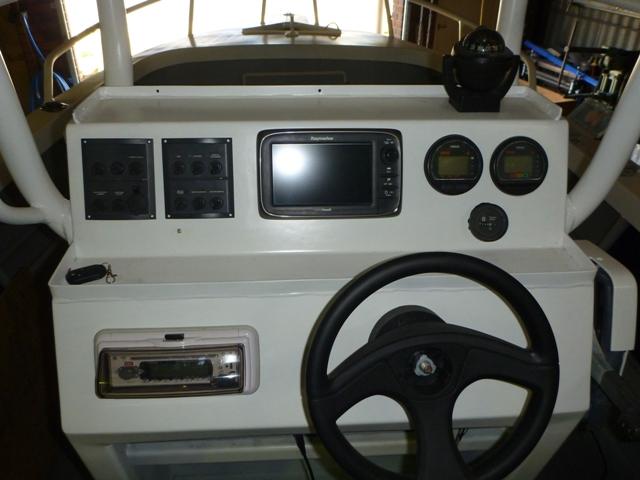
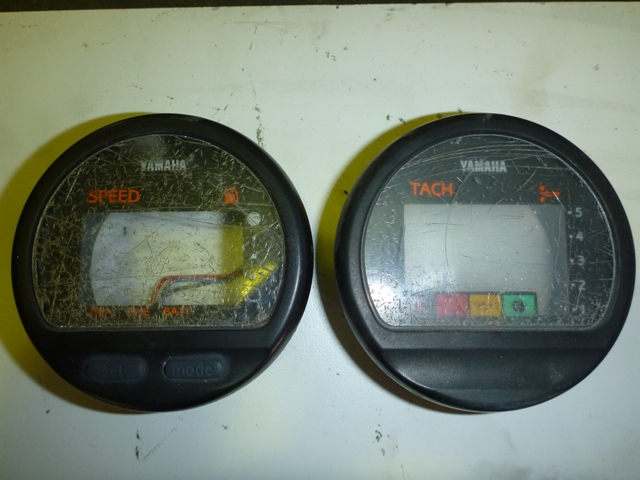
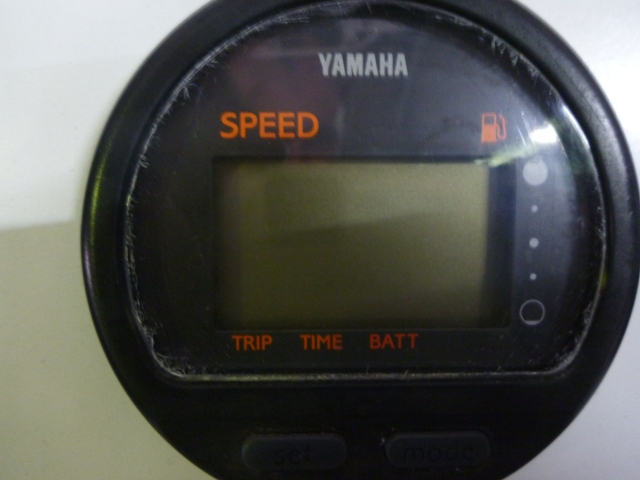
Another problem to over come was the gauges for the motor. They had sun damage and scratches so bad you could hardly read them.
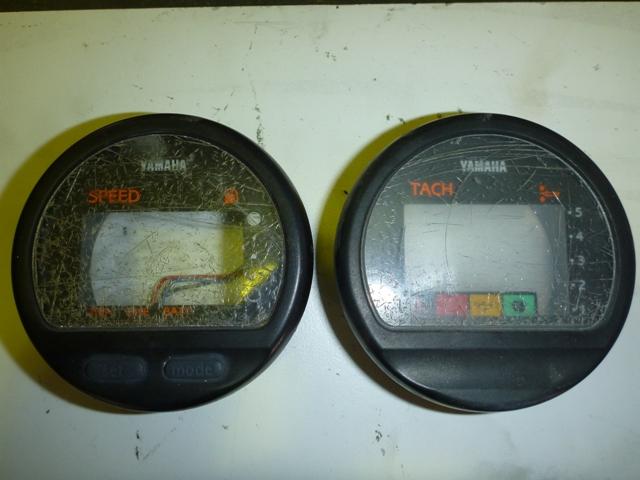
Again i thought , I'll just replace the covers. No you cant get them, you have to buy new gauges. Ok so i'll price them up, $700 thanks mate. Again, I not so politely refused their mates rates offer and bought a lense pollish kit from an auto shop. A couple hours later and some elbow grease they were good to go. Not perfect , but good enough for me to use for a couple of years.
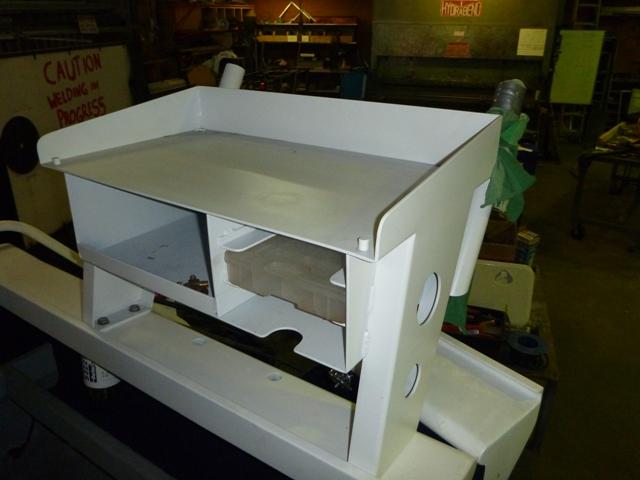
Went to buy a bait board, again came back and made my own complete with a 3 tackle box rack.
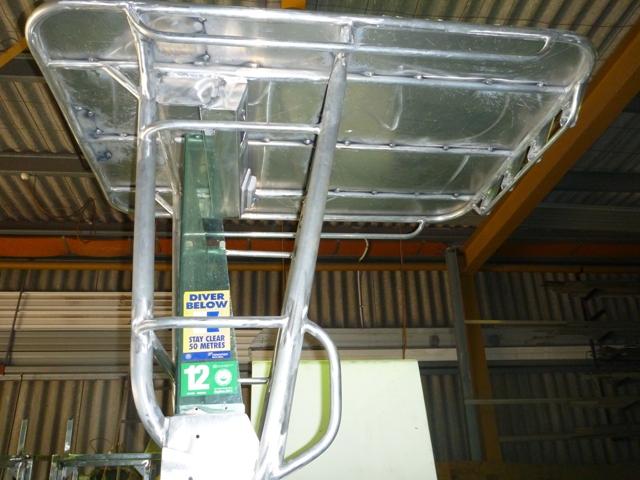
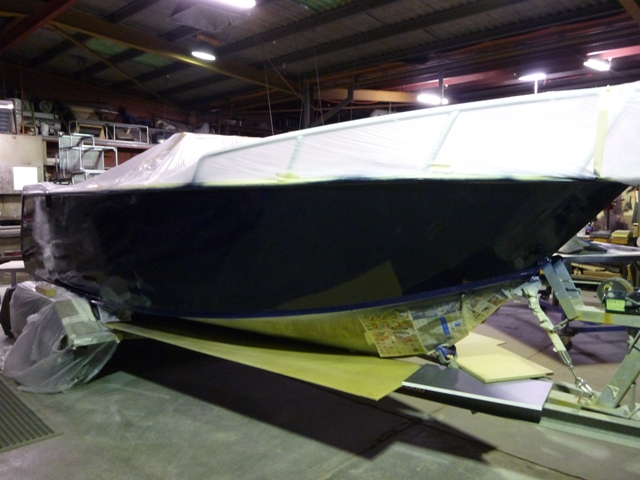
I repianted the hull last Xmass . For my first try at this ( I got alot of advise first ) It came up pretty good for and old boat.

I now started on the T-top. After looking at ideas online i got the frame work in place . I made it bolt on, so i can remove it if needed. I reinforced the console inside to prevent it moving around and tearing the aloy.
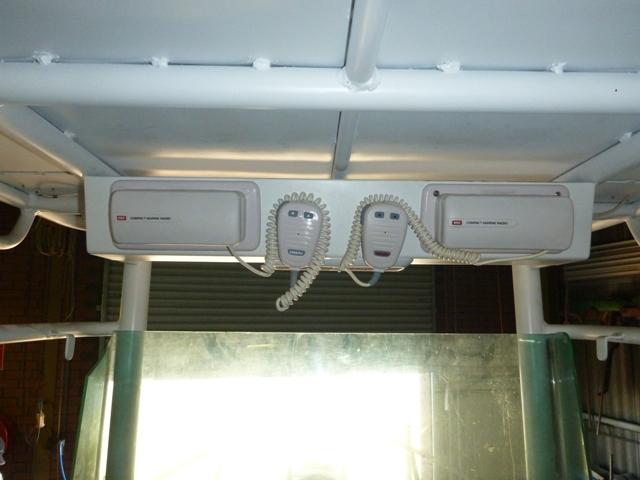
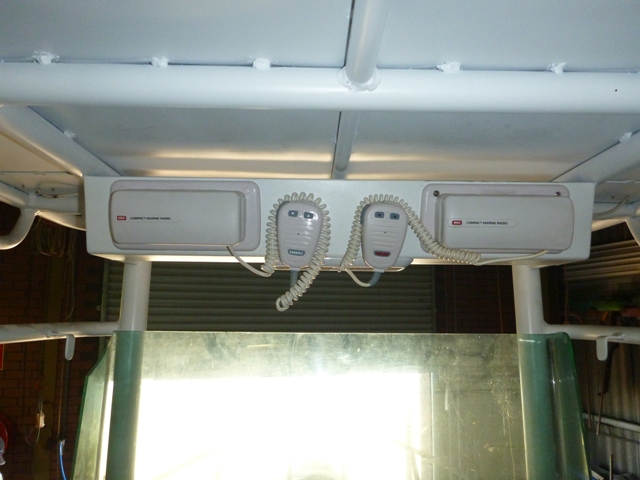
I fitted the marine radios up high and gave it a lick of paint.
The console is starting to look good with the in struments in place.
Many other items done ( too many to list ) but she is starting to get close to the final fitout.

Thanks for reading and i have more to add, but will post some more pictures on a new thread as this is aready pic heavy.
Cheers Grant .


Nauti Buoy
Posts: 595
Date Joined: 20/04/09
Great Work
Looks like you have done an awesome job!
scano
Posts: 1247
Date Joined: 31/05/07
I tell ya what
She is looking awesome I reckon!
And I agree that most of the time it is better to have a go either repairing or making your own fishing and boating products if you have the facilities and the know how. Yes it might take a little longer and it is not as easy as just purchasing an off the shelf item, however it gives you great satisfaction when it all comes together as planned and will often last a lot longer than mainstream products.
i bet you can't wait to get it back in the water test all the new goodies out
scano
Auslobster
Posts: 1901
Date Joined: 03/05/08
With the money you saved...
...by not letting the chandlers rip you off, that new donk shouldn't be too far away! Looks like it's all coming together nicely; good work! Makes me realize how badly MY Ali cc needs a makeover...
makai
Posts: 459
Date Joined: 28/10/08
Great job Grant
Top quality work!
southcity104
Posts: 1659
Date Joined: 27/01/09
professional at work!
every component look top class. The job reviving the gauges is esspecial good. I think many shops now just expect you to wear it.. ? Its almost always " that comes to one thousand dollars" So u do it yourself and it cost you a quarter of that , throw on your own hours and it's cost you half, so where does the extra 500 come out off??
"Its a life style job"
opsrey
Posts: 1200
Date Joined: 05/10/07
Looks sweet.
Great to see you saving a few dollars. Looking forward to the on water shots.
kirky79
Posts: 1364
Date Joined: 13/01/12
That looks great mate. Bet
That looks great mate. Bet your looking forward to getting it wet.
grantarctic1
Posts: 2546
Date Joined: 03/03/11
Thanks
Thanks guy's, Yeah I want to get 2 years out of the motor before i repower. That way it would all be worth it, otherwise i should have just bought a new boat.
The cost so far .. $15000 for the rig.
$3000 for sounder, radios, lights,fittings, wire, hardware. ( I replaced absolutely everthing except the above gauges etc. )
$500 for primer,paint and assosiated products.
$ ? ... My time ... Aprox 300 hours so far .
Most of the aluminium i already had through my business. aprox = $ 500 .
scottnofish
Posts: 1621
Date Joined: 28/08/07
looks great
did you know tooth paste works great for polishing gauges as its a very fine cut and polish and i dosnt cost $50 like that stuff they sell in the shops
Paul H
Posts: 2104
Date Joined: 18/01/07
Great work and looks like the
Great work and looks like the $$$$ shop bought stuff anyway (will probably last longer too).\\
PS Put more pics here rather than a new thread would be good to keep it all in the one place so we can see the progress
Cheers
Youtube Channel - FishOnLine Productions
https://www.youtube.com/channel/UCbUVNa-ViyGm_FTDSv4Nqzg/videos
joe amato
Posts: 731
Date Joined: 21/12/08
like your awsome work
like your awsome work on your boat,fuel tank etc imo awsome
roberta
Posts: 2773
Date Joined: 08/07/08
Love
the design of the bait board, very cleve idea of shelving underneath. Old fart put a couple of holes in his fiberglass one so the water could drain out and also a ledge so the bait knife wouldn't go into the ocean if a bit rough, just a thought.
Excellent work, you will be so proud of your boat once on the ocean as you know through your hard work you did it.
Ginger Tablets Rock
grantarctic1
Posts: 2546
Date Joined: 03/03/11
Yeah
Yeah Roberta , got to have a good bait board. Yes each compartment has drain holes , i know how water finds its way into everything . I have built a few dry storage areas too for personal items., will post some pictures later.
Chreers Grant .
sea-kem
Posts: 15252
Date Joined: 30/11/09
Looking the goods Grant. I
Looking the goods Grant. I might have to drop over for a look and get some ideas for my console when I build it. Ha ha mine's just sat out the back at the moment gathering copious amounts of dust.
Love the West!
Vinesh87
Posts: 2751
Date Joined: 02/04/11
Thats look wicked Grant,
Thats look wicked Grant, would love to do it myself oneday !
Good work!!
axey45
Posts: 1758
Date Joined: 26/11/13
Great job grant, you really
Great job grant, you really do a outstanding job on your projects, shows you have dedication and patience. Top job
Rob H
Posts: 5905
Date Joined: 18/01/12
that looks great Grant, the
that looks great Grant, the baffle setup is good.
Goes to show that NOONE will ever take as much care in their work as you do yourself.
Most mass manufactured tanks dont have a good setup, even my Cruisecraft one I'd like to modify as it is quite long so sloshing as it gets lower is a problem.
Either a much better baffle setup or better split it into 100/200 litre compartments.
Give a man a mask, and he'll show you his true face...
The older you get the more you realize that no one has a f++king clue what they're doing.
Everyone's just winging it.
grantarctic1
Posts: 2546
Date Joined: 03/03/11
Most tanks
Most tanks i looked at ( and the one i removed ) only had 2 baffles splitting the tank into 3 sections. Like you said this can still cause problems. A few people i talked to had very simular problems when the fuel level got below 1/3 . As they powered forward the fuel would move away from the pickup causing it to gulp air .
Thats why i added the 3rd baffle. It is not quite centre, but more towards the pickup. I am hoping this will reduce the fuel moving away from the pick up too much when i give it some throttle.
I would have liked a bigger tank, but had to work with the room i had . I worked it out at aprox 130L . Should be enough for most metro fishing and i will always carry a spare 20L for safety.